Clarinet Internet Solutions
  • Home
  • VPS and Dedicated Servers
  • Consulting
    • System Administration | Linux and FreeBSD
    • Website Optimization
    • Digital Marketing Strategy
    • Request Site SEO Report
  • Blog
  • Support
    • Configuration Guides
    • Webmail
  • Contact Us

Outlook 2010 with POP3 and Authenticated SMTP over SSL

July 26, 2014 11116 views

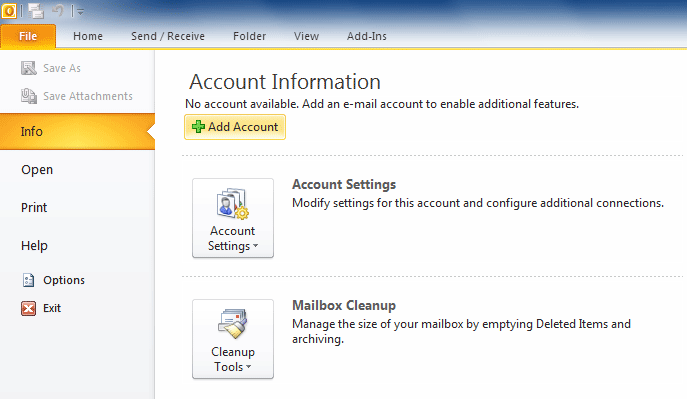
Open MS Outlook 2010 and Choose “File” -> “Info” -> “Add Account”.

outlook-1

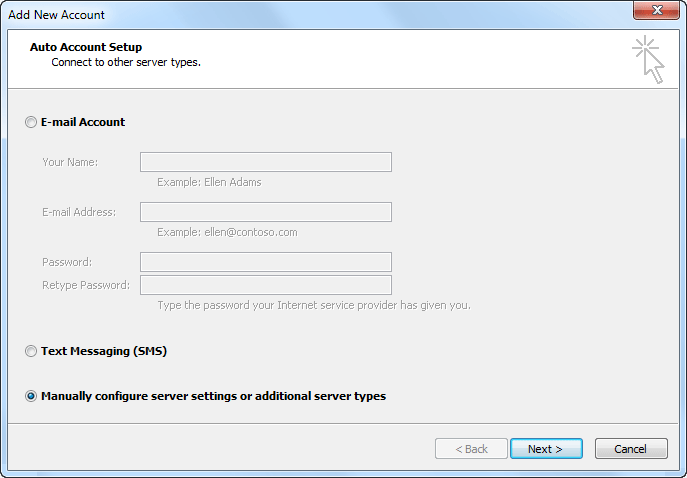
3. Select “Manually configure server settings or additional server types” and click “Next”.

outlook-2

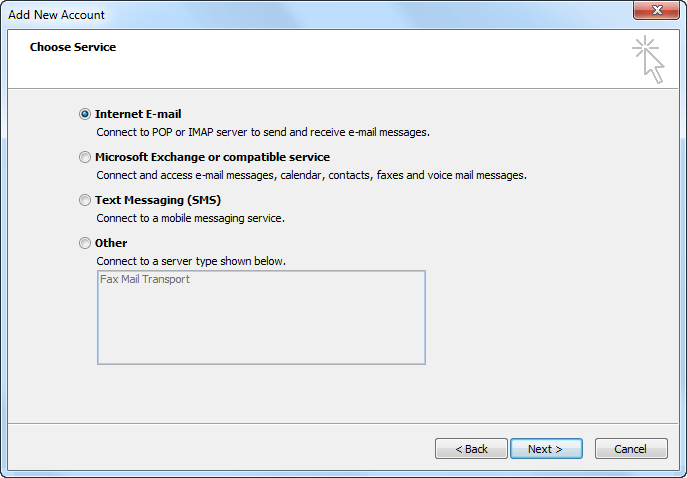
4. Choose “Internet E-mail” and click “Next”.

outlook-3


5. In the “Your name” field you should enter your own name as you would like it to appear on the messages you send.
You need to enter your e-mail address username@clari.net.au in the “E-mail Address” field.
For incoming and outgoing mail servers you should use pigeon.clari.net.au
Enter your email address (eg username@clari.net.au) in the “User Name” field. In the “Password” field you need to enter the current password for this particular mailbox.
Leave the “Require logon using Secure Password Authentication (SPA)” option unchecked.
You can leave the “Test Account Settings by clicking the Next button” option checked, in order to easily verify if your configuration is done correctly.
The “Deliver new messages to” option allows you to specify if you want the new account to have a new Outlook data file (the default option) or if you prefer to use an existing data file. The second option is useful if you want to receive the messages of multiple pop accounts into a single Outlook folder. If you are unsure, use the default selection.
outlook-4


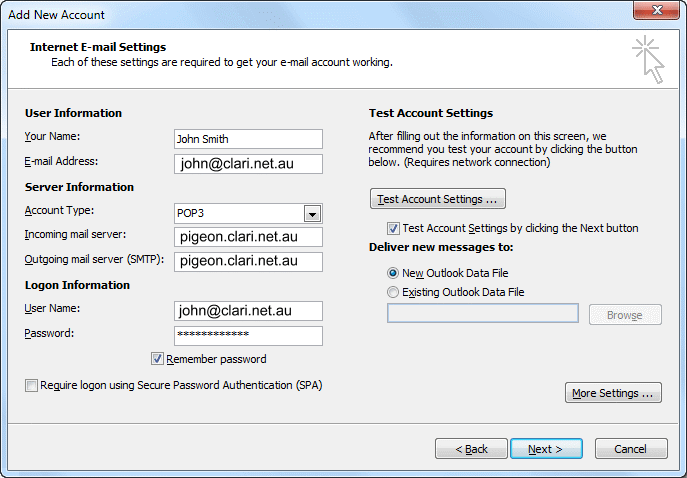
When you have entered your name, email address and server information, click “More Settings …”.

6. Click on the “Outgoing Server” tab. Mark the “My outgoing server (SMTP) requires authentication” option and leave the default “Use same settings as my incoming mail server” option selected.

outlook-5


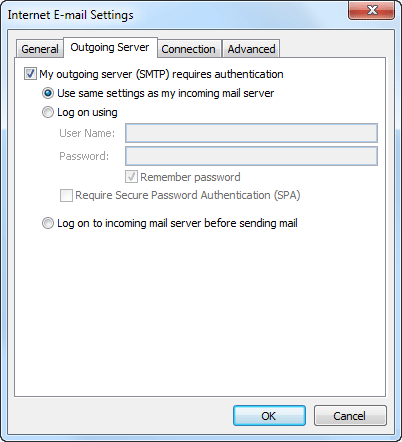
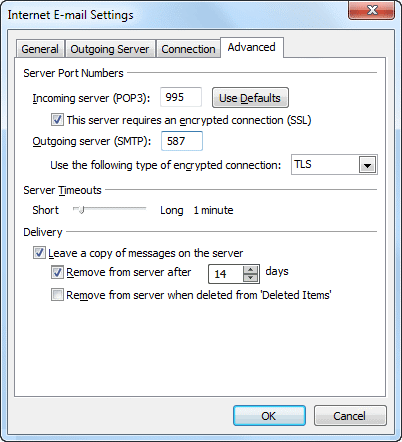
7. Click on the “Advanced” tab.

Mark the “This server requires an encrypted connection (SSL)” option. The incoming server port will be automatically changed to 995.

Set the “Outgoing server (SMTP)” port to 587.

Specify “TLS” at the “Use the following type of encrypted connection” setting.

Sometimes Port 587 with TLS does not work.  If that happens, try using port 465 using SSL.

Make your selections under the “Delivery” section on how to treat the messages on the server after they are downloaded on your computer.

If you are using a tablet or smartphone on this account also, you should leave a copy of messages on the server for at least 5 days.

outlook-6


Recent Posts

  • New VPS and Dedicated Servers
  • Digital Marketing Strategy
  • Set up Gmail as Email Client
  • Outlook 2016 with IMAP and authenticated SMTP over SSL
  • Getting started with WordPress for SMEs
  • Vista email problems with timeouts
  • Set up e-mail with Microsoft Outlook Express Using Pop3
  • Thunderbird with POP3, SSL and Authenticated SMTP
  • Android email with POP3, SSL and authenticated SMTP
  • Set up Apple Mail with IMAP, SSL and authenticated SMTP
© 2017 Copyright Clarinet Internet Solutions. All Rights reserved.
Close Window

Loading, Please Wait!

This may take a second or two. Loading, Please Wait!