Installing Clarinet 3G Wireless Broadband
When you receive your wireless broadband package it will not be activated. Please telephone or e-mail Clarinet to confirm the arrival of the parcel and to arrange activation of the service.
Once the service has been activated, you can install the software and commence using the service.
The device looks like a USB memory stick. Remove the cover and connect it to a USB port on your computer. You should use the USB extension cable as a general rule, as you will get better reception this way, and therefore better download speeds. (When connected directly to the computer the interference given off by the computer makes it harder for the 3G signal to be received)
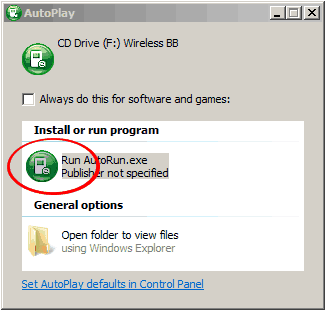
When you see this pop up on screen, double-click the green Run Autorun icon.
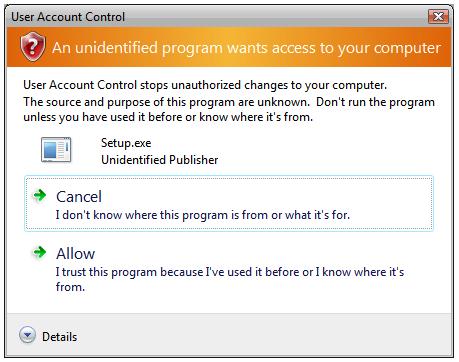
When you get the next image, click Allow.
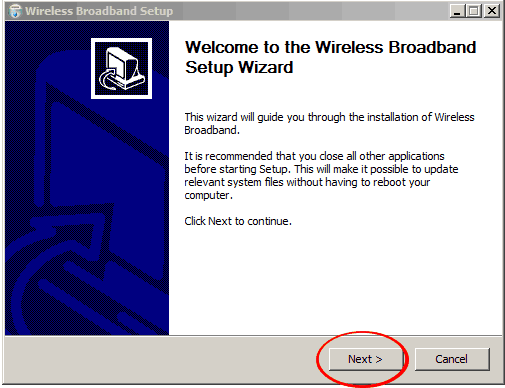
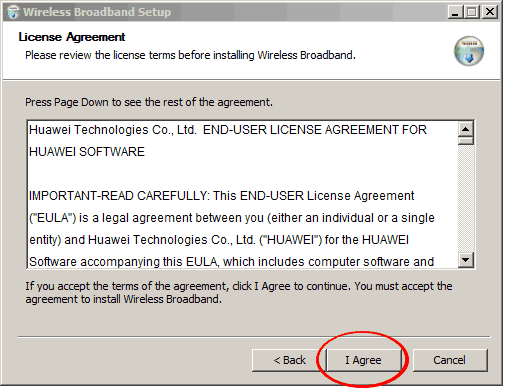
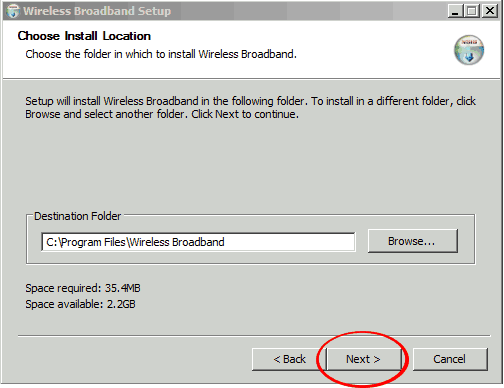
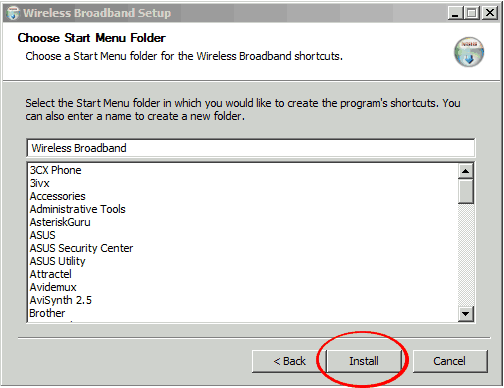
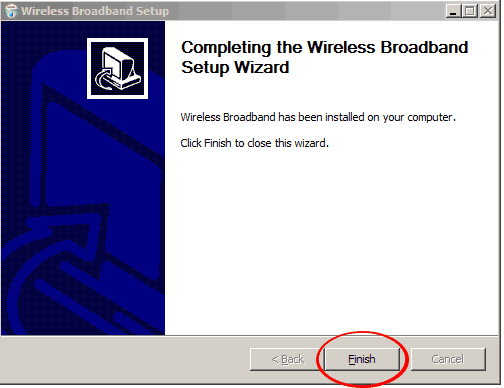
You will then be guided through the installation with the wizard. Click all of the buttons circled red in the next few images.
Now that the software has been installed, the device will take about 30-60 seconds to get itself organised for the next step.
You may have to double-click the green icon in the Autoplay window again.
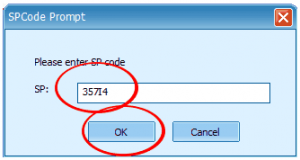
When the window below pops up, enter your SP code, which is 357I4 (357-uppercase letter I-4) and click OK.
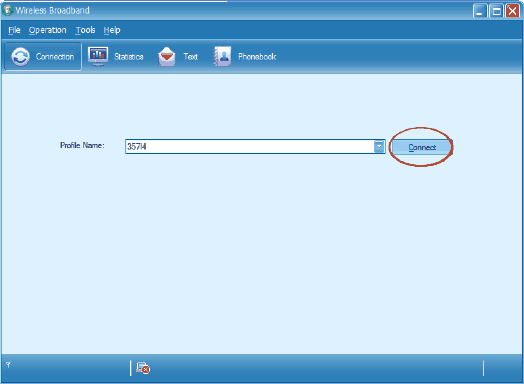
You are now ready to connect. Click the Connect button, and if your SIM has been activated, it should all JUST WORK!

